Making a Custom Obsidian Bases View
After months of development, Obsidian recently released support for Bases, a core plugin that allows you to create visualizations of the files within your Obsidian vault. It comes with support for several common Bases Views, each of which presents those files in a different way, such as table or list. The upcoming 1.10 release will allow plugin authors to create their own types of views using the Bases View API, which can expand Obsidian’s options for presenting your files to handle anything you can imagine!
Currently, there is no published documentation for the Bases View API; the feature is still in early access. I’ve been excited about the prospect of custom Bases views since starting to use the feature over the summer, so I dug into the one place that you can see the API in action: the official obsidian-maps plugin that will be available alongside the 1.10 release.
This post will dig into the basics of the Bases View API to explore what a plugin author needs to implement to support a custom view. We’ll then walk through a code example of how this API can be used to build a “calendar” view, where your files can appear like events on a calendar, perfect for browsing your daily notes!
Note: If you want to follow along and build the calendar plugin yourself, you will need access to the Early Access release of Obsidian, at least until
1.10becomes the public version
The Basics of the API
Before digging into building a plugin together, let’s talk about the basics of how we can implement a custom Bases view. The custom view API is based around the newly-provided BasesView class, which can be implemented by a plugin to take the results of a Bases query and render it. There are two main components to this class’s API that are worth knowing about up front:
- The
dataproperty of the class will be populated with the results of the Base’s query, providing the data about the files that match the filter and the values of the configured properties. - The
onDataUpdatedmethod of the class is called whendatais populated, as well as any time the underlying results are updated (such as changing the filters applied to the view).
We’ll see these two concepts come up again once we’re implementing our plugin!
Building a Custom Bases View
Now that we’ve covered the two most important parts of the BasesView API, let’s build a “calendar” plugin together to see how it works. There are a few things that you’ll need to get set up if you want to follow along:
- Access to Obsidian
1.10through the Early Access program; this is required for your version of Obsidian to allow for custom Bases views. - Follow the official “Build a Plugin” guide through step 4 to set up a fresh plugin for development. We’ll pick up with step 5 together, where we’ll author the custom view! Make sure to read over the suggestions on how to build and reload the plugin within Obsidian after making any changes to the plugin’s source code.
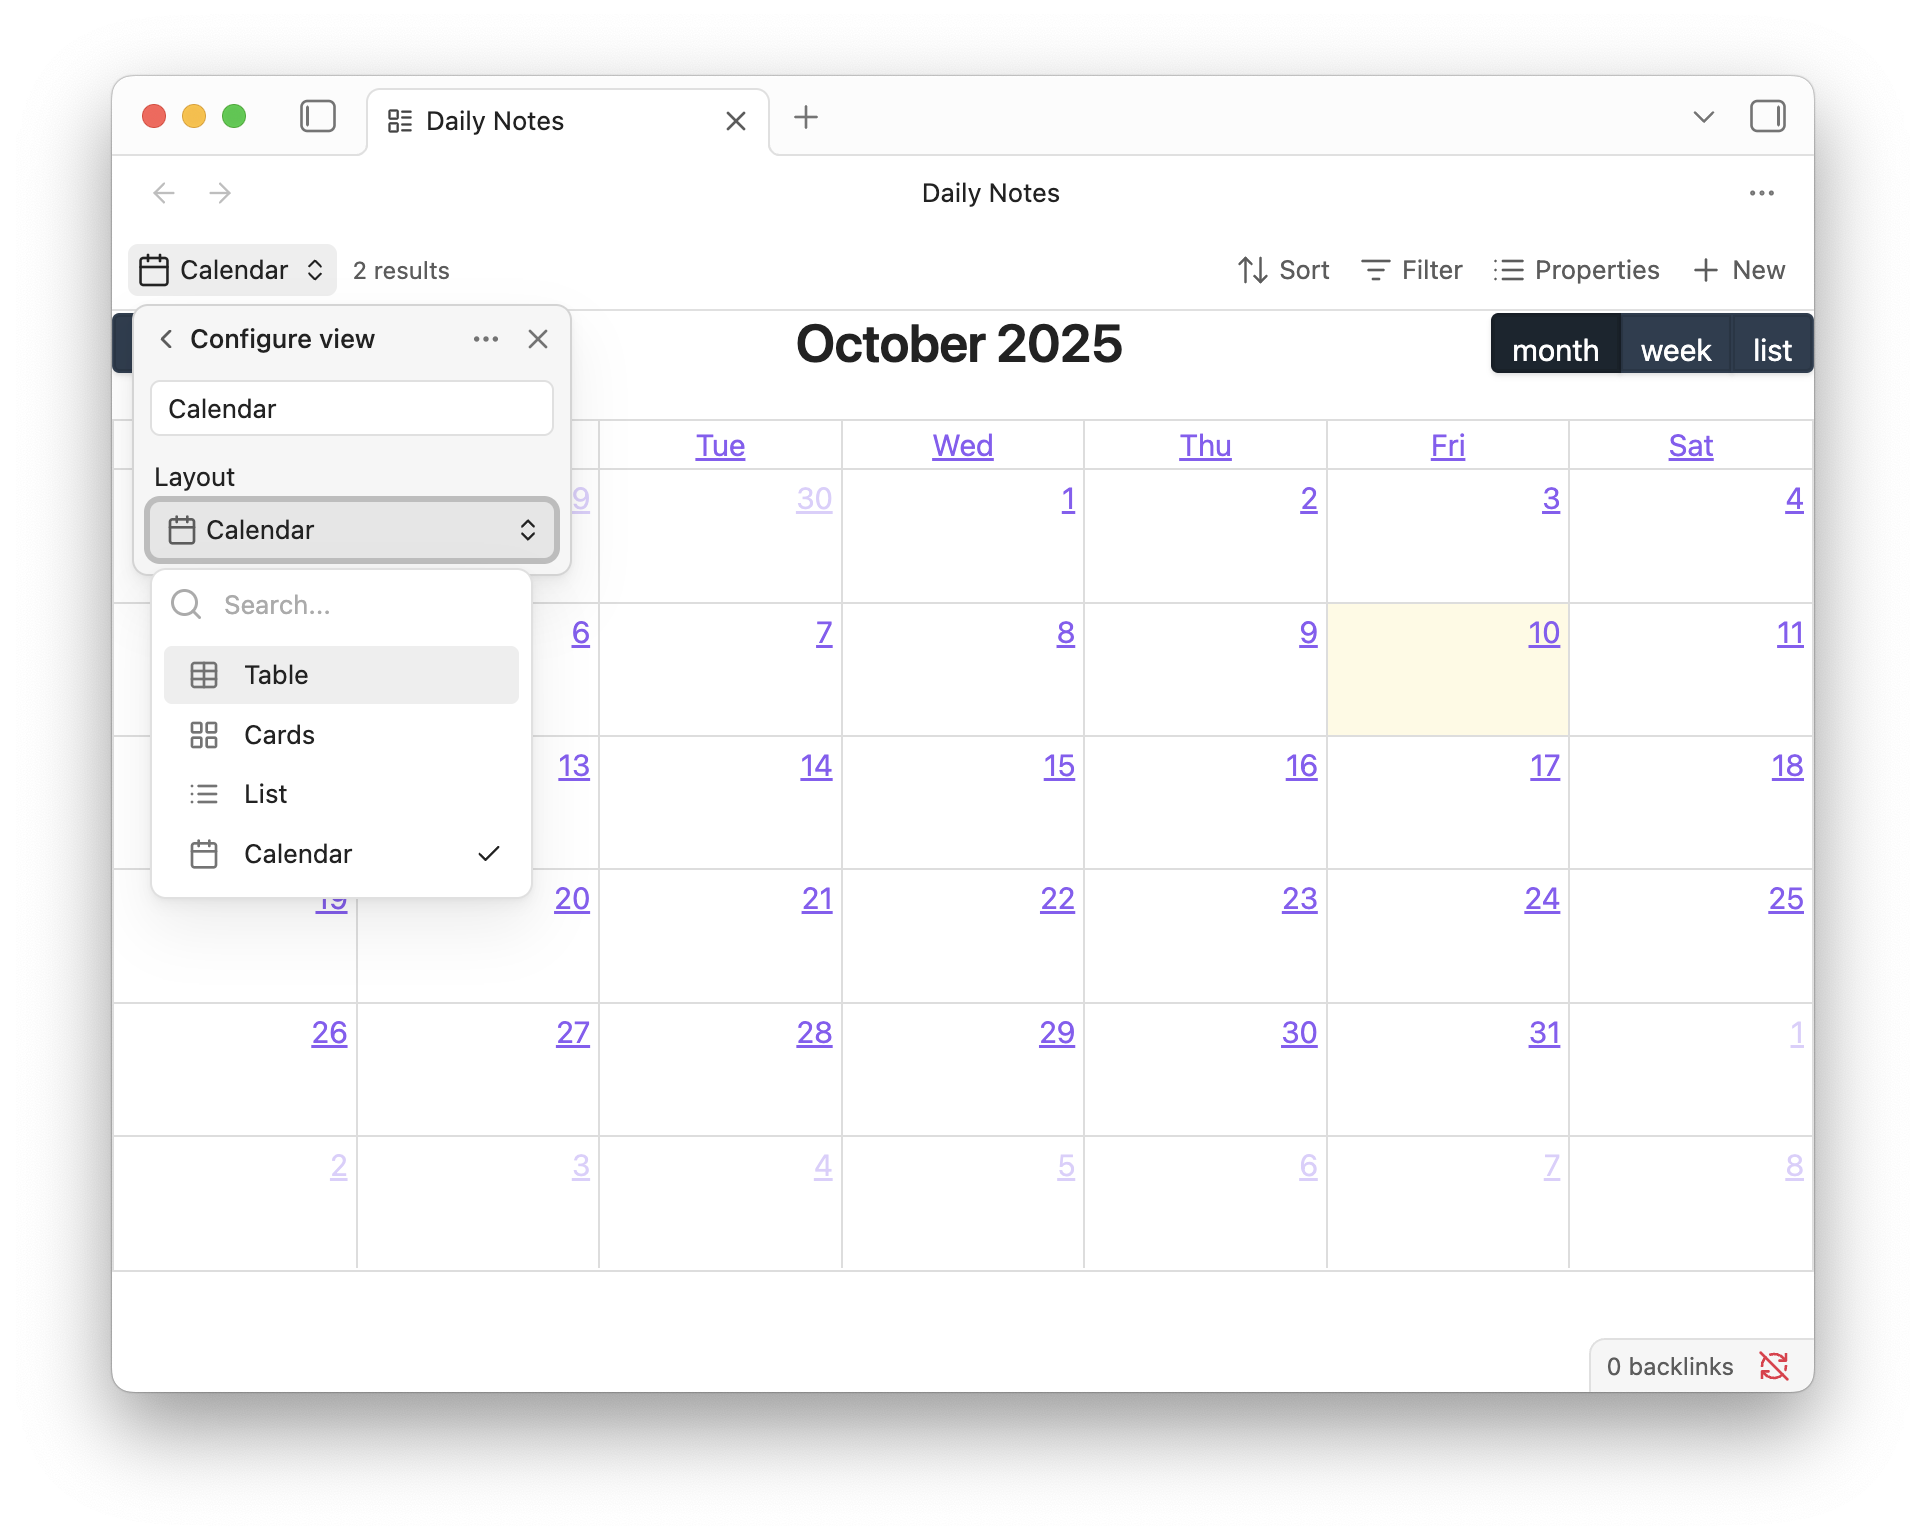
- Add a couple of files to your development vault and a Base that can render our custom view. I created a few daily notes within a
Daily/directory, and then defined my Base using the following configuration:
filters:
  and:
    - file.folder == "Daily"
formulas:
  date: date(file.name)
Before we define our Bases view, there’s one other thing you’ll need: a way to render a calendar. Let’s grab the FullCalendar package, just to give us a component that’s well-documented and easy to integrate with:
npm install
  @fullcalendar/core
  @fullcalendar/daygrid
  @fullcalendar/timegrid
  @fullcalendar/list
With those packages installed, we can start actually defining our custom Bases view!
Rendering the Calendar
To start, we can render the calendar inside of the Bases view; once that’s in place, we’ll populate it with data and add some interactivity. Our BasesView subclass will take care of rendering the FullCalendar component when the “Calendar” layout is selected for a Bases view.
The code snippet below sets up a basic Calendar view that we’ll populate with events later; each code comment marked with a number (like // #) will be explained in detail below!
// main.ts
import { BasesView, QueryController, Plugin } from "obsidian";

import { Calendar } from "@fullcalendar/core";
import dayGridPlugin from "@fullcalendar/daygrid";
import timeGridPlugin from "@fullcalendar/timegrid";
import listPlugin from "@fullcalendar/list";

export default class CalendarViewPlugin extends Plugin {
  async onload() {
    // 1
    this.registerBasesView("calendar", {
      name: "Calendar",
      icon: "calendar",
      factory: (controller, containerEl) => {
        return new CalendarView(controller, containerEl);
      },
    });
  }
}

class CalendarView extends BasesView {
  type = "CalendarView";

  private calendar: Calendar;

  // 2
  constructor(controller: QueryController, containerEl: HTMLElement) {
    super(controller);

    this.calendar = new Calendar(containerEl, {
      plugins: [dayGridPlugin, timeGridPlugin, listPlugin],
      initialView: "dayGridMonth",
      headerToolbar: {
        left: "prev,next today",
        center: "title",
        right: "dayGridMonth,timeGridWeek,listWeek",
      },
    });
  }

  // 3
  unload(): void {
    this.calendar.destroy();
  }
}
The registerBasesView API (1) is how the Obsidian plugin defines custom views. The name and icon properties of the configuration object define what a user sees when selecting which type of view to use within a Base. factory is called to actually populate the view.
factory must return an instance of a subclass of BasesView, which receives a few important arguments from the Bases View API (2). The QueryController manages the data being provided to the view by Obsidian; this is used by the parent BasesView class to populate the data property, so we don’t need to interact with it directly. The HTMLElement serves as the root element for the view, which we can render our FullCalendar component into.
Finally, the unload method (3) is used to clean up anything that our view created. This allow us to destroy the FullCalendar instance once it’s no longer needed by the view.
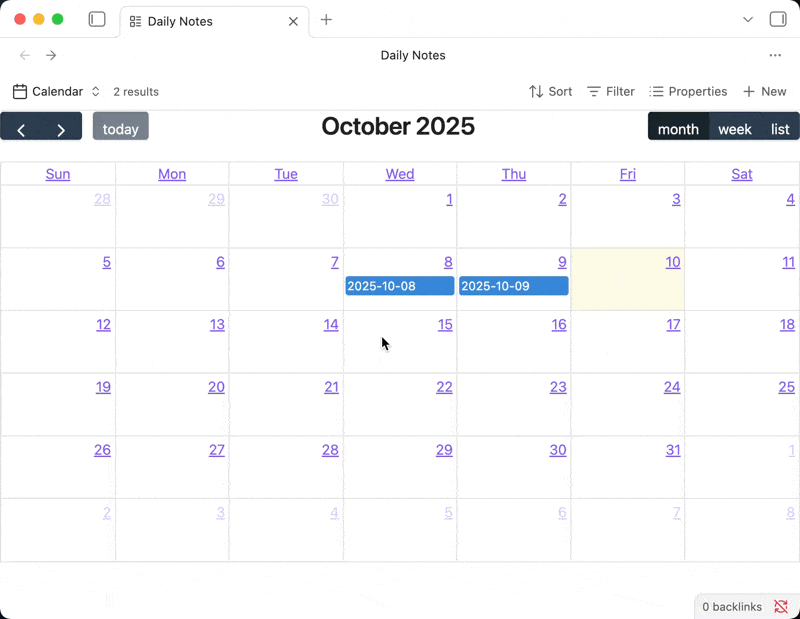
With that in place, you should be able to select Calendar as the layout type for your view to see a fully interactive calendar UI that we can populate with events.
Receiving Data from the Base
Now that we have our calendar rendered, we’ll want to add some events. FullCalendar makes this fairly easy through the ability to define a function that can provide this data to the UI component; this can be used to translate the data we receive from Obsidian into the data we send to the calendar.
Let’s look at how our CalendarView class can be updated to render this data. Note that ellipses (...) are used to pass over parts of the previous code example that are unchanged, so we can focus on the additions.
class CalendarView extends BasesView {
  ...

  constructor(controller: QueryController, containerEl: HTMLElement) {
    super(controller);

    this.calendar = new Calendar(containerEl, {
      ...
      // 4
      events: () => this.makeEventsFromData()
    });
  }

  async makeEventsFromData() {
    if (!this.data?.data) {
      return [];
    }

    return this.data.data.map((entry) => {
      const start = entry.getValue("formula.date");

      return {
        id: entry.file.path,
        title: entry.file.basename,
        start: start.date.toISOString(),
        allDay: true,
      };
    });
  }

  // 5
  onDataUpdated(): void {
    this.calendar.refetchEvents();
    this.calendar.render();
  }

  ...
}
When defining our FullCalendar instance, we can provide an events function to return the list of events to populate the calendar with (4). This will be used to translate the results of our Bases query into the format that FullCalendar requires. While the query results are accessible through the data property, be do need to be careful to make sure that it exists before reading from it, returning an empty array of events if it hasn’t been populated yet!
Our custom view will be populated with results after the view is constructed, so we need to implement onDataUpdated to update our calendar to reflect those changes (5). This method will be called when the initial query results become available, as well as any time the user updates the configuration of the Base. In either case, by telling our FullCalendar instance to refetchEvents and render we can instruct it to call the events function again to read from the updated data value, rendering the results!
With these additions in place, the data property of our Bases view now serves as the event source for the FullCalendar component!

The calendar will automatically reflect any changes to the underlying data in real time as well; you can test this out by applying an additional filter to the base, which will be immediately reflected in the visible calendar events.
Opening Notes from the Calendar
While viewing the notes on the calendar is neat, it’s not exactly useful if we can’t click on an event to open the associated note. Let’s hook up some basic interactivity so that our calendar view is much more functional!
class CalendarView extends BasesView {
  ...

  constructor(controller: QueryController, containerEl: HTMLElement) {
    ...

    // 6
    this.calendar.on("eventClick", ({ event }) => {
      const { id } = event;

      this.app.workspace.openLinkText(id, "");
    });
  }
}
Adding this eventClick handler (6) to our FullCalendar instance is all we need to allow notes to be opened from the calendar! The id property of each event, which we defined based on the full path of each rendered file, can be reused with Obsidian’s plugin API for opening a note to handle the behavior we’d expect to see.
Further Reading
This tutorial aimed to serve as an overview of the most fundamental aspects of the Obsidian Bases View API, and there is more to explore if you want a deeper knowledge of what a custom Bases View can do. If you’re looking for a little more information, you can find a repo containing my initial, slightly-more-featureful version of the code in this tutorial here.